Search
Tags in IRIS The Tag feature in IRIS lets you group songs together in any way you would like. Perhaps you want to group one artist's songs together; perhaps it's a particular album, deal or contract. Once these songs are commonly tagged, the tags are then available to use in a variety of royalty/ financial reports allowing you to do income analysis on this particular group without having to filter anything out. You can also use tags to create CWR registrations/ batches. Adding songs to a tag is simple and can be done as the songs are pulled in through the Song Wizard or Song Import Tool or at any point after that.- Click the IRIS.NET Tools tab and select Manage Tags.

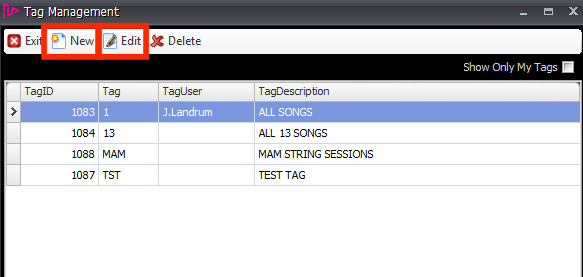
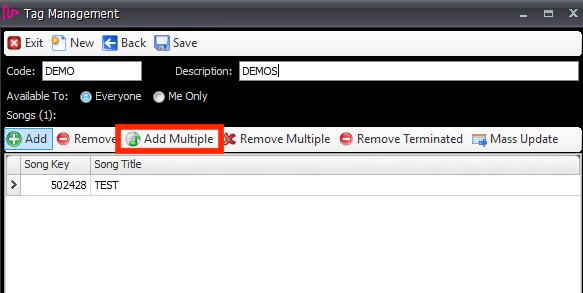
- In this window you can see the previously created Tags, you can click New to create a new Tag or select a pre-existing tag and click Edit to edit the selected Tab.
- When creating a new Tag you must enter a code for the Tag and a description. You can then select whether you want to make this Tag available to everyone or just you.
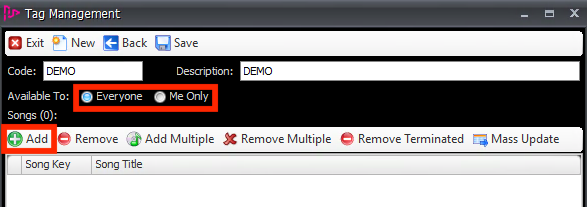
- Once you have entered the Name and description you can start to add songs to the Tag. To add individual songs click Add.
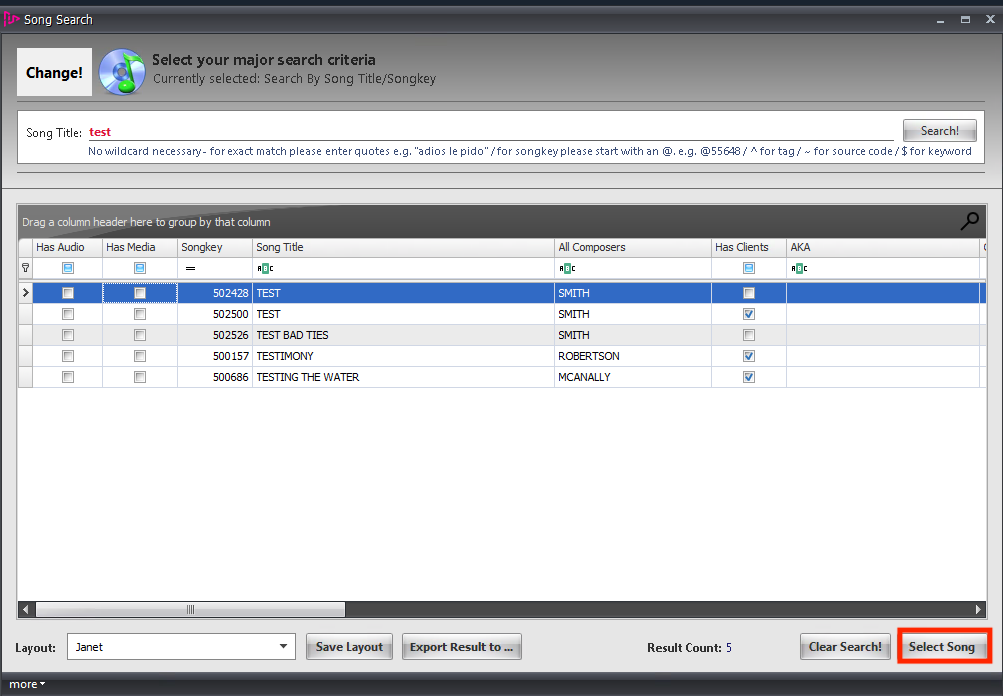
- The song search window will open and you can search for the song you wish to add to the Tag, select the song and click Select Song.
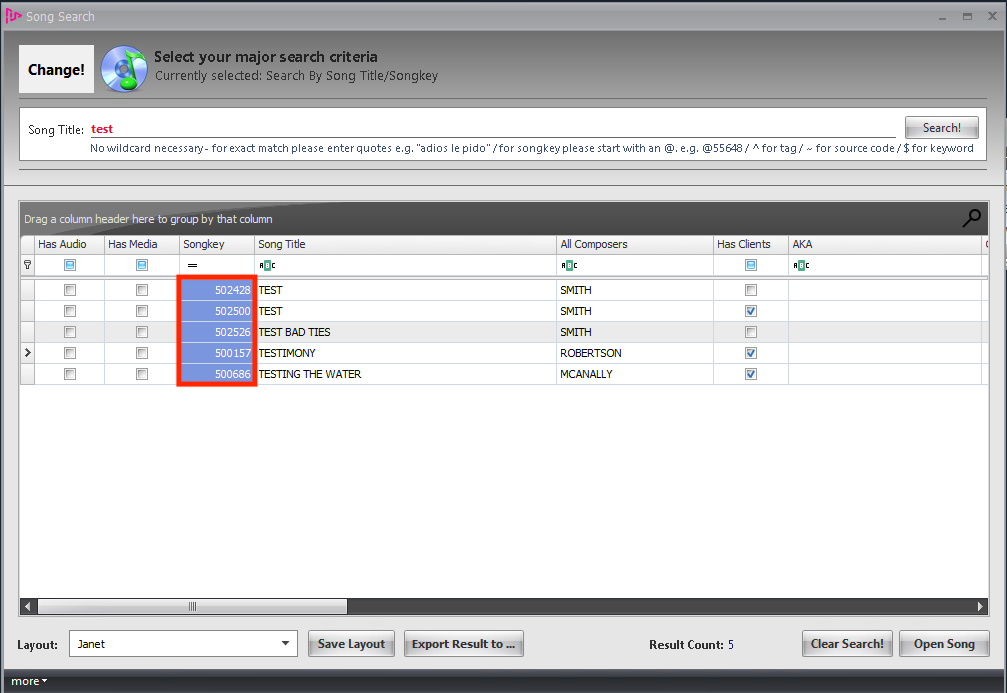
- To add multiple songs to a Tag you must first search for the songs, select and copy their songkeys.
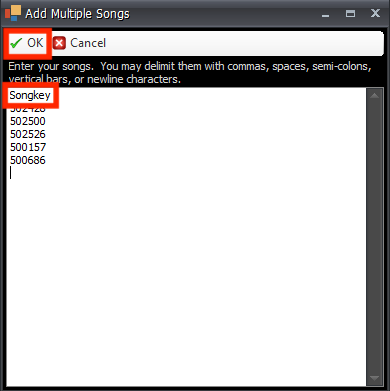
- Once you have copied their songkeys, in the New Tag window click Add Multiple and then paste the songkeys into the text box in the new window.
- Remove the songkey header that was copied across at the same time and then click OK.
- You can remove a song from the Tag by selecting it and clicking Remove. To remove multiple songs copy the song keys then click remove multiple, paste the songkeys in and then click ok.

- Once you have finished adding/removing songs from the Tag click Save to save the Tag. You can now export the songs in the Tag to the Mass Update Module if you wish to make further changes to them by clicking Mass Update.
- Once tags are created, they are available to add on a client level as well (there is a Tag tab on the client).
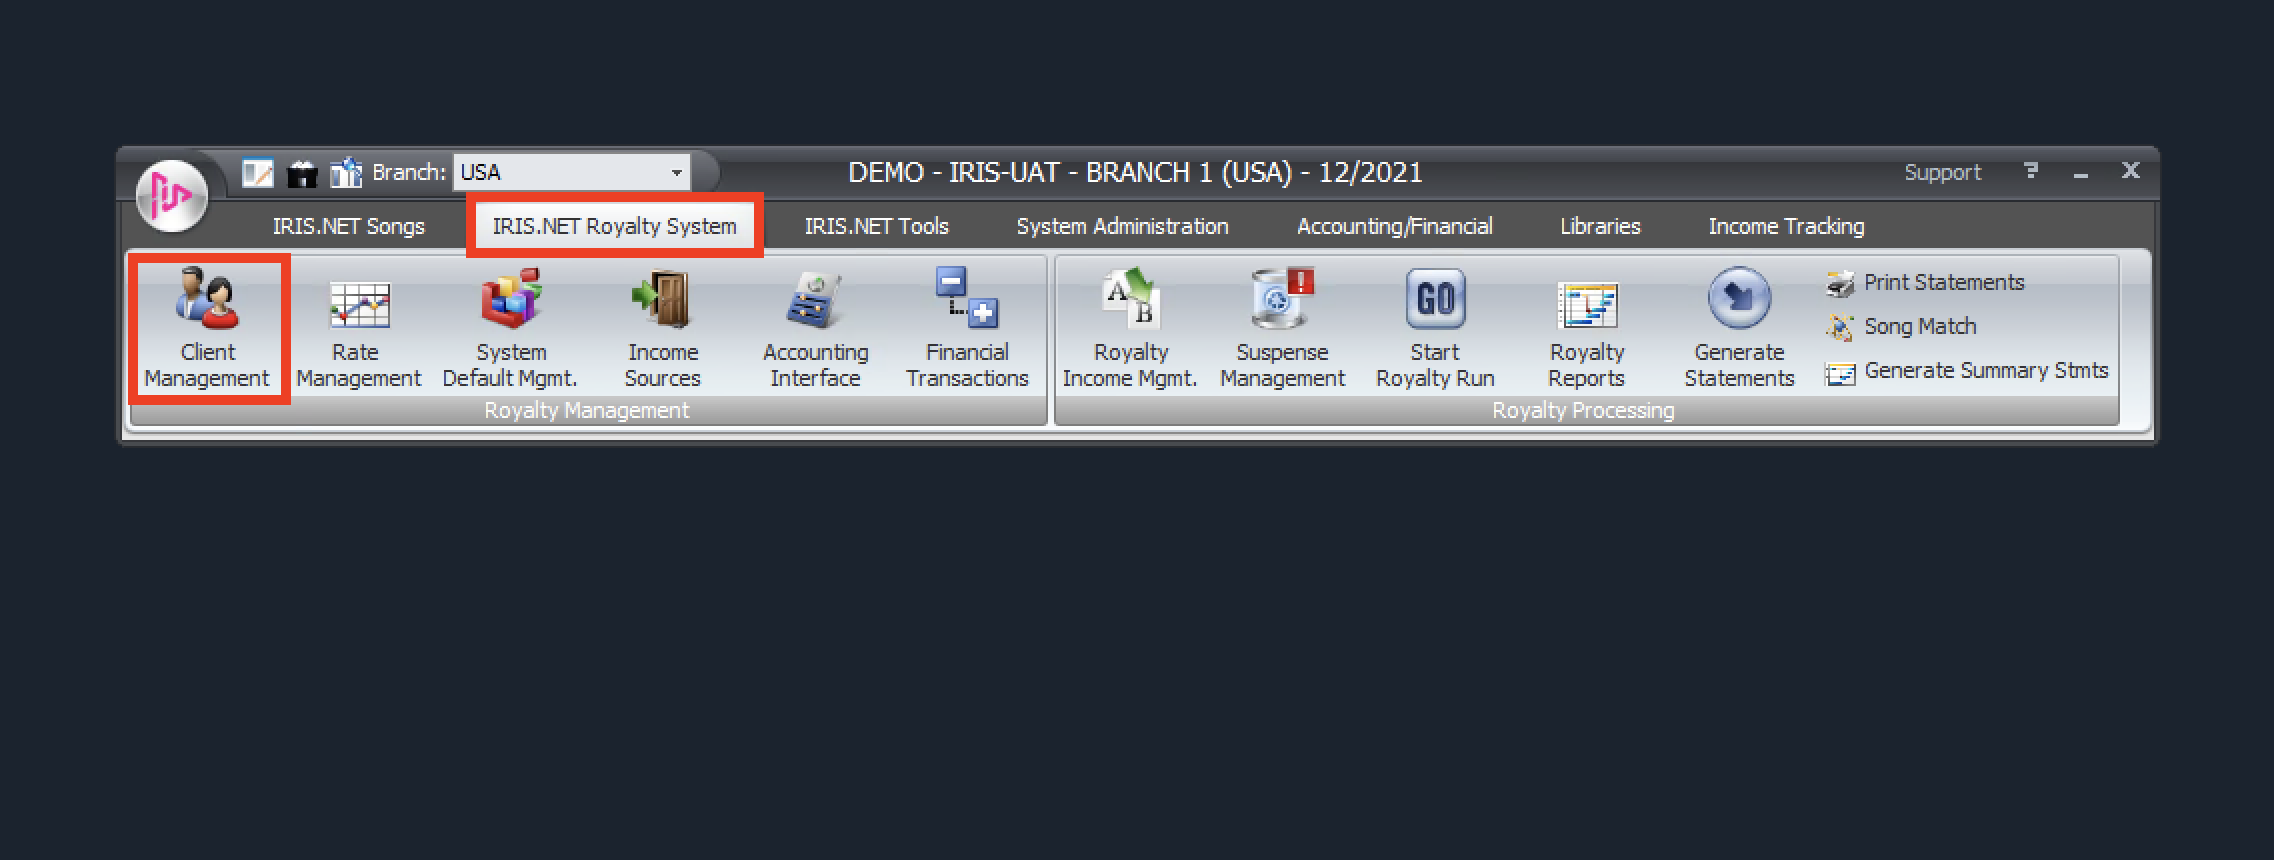
- In order to generate royalty statements by tag, the client needs to be added to the tag. Click IRIS.NET Royalty System then Client Management.
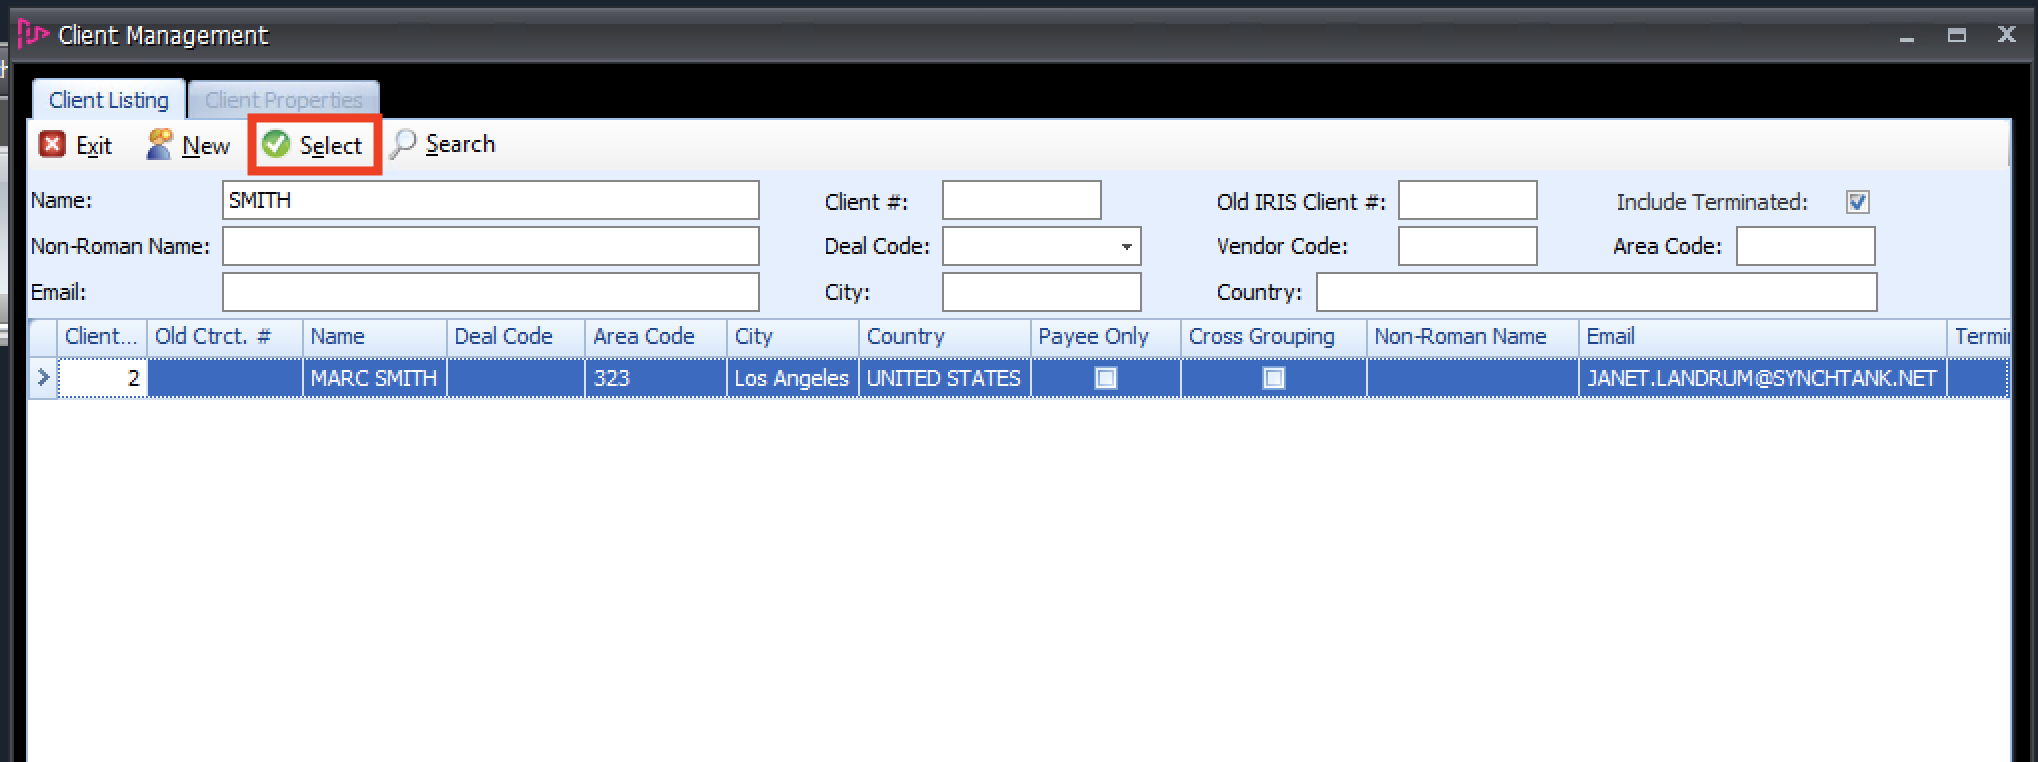
- Search for your client, select the client you want from the list and click SELECT.
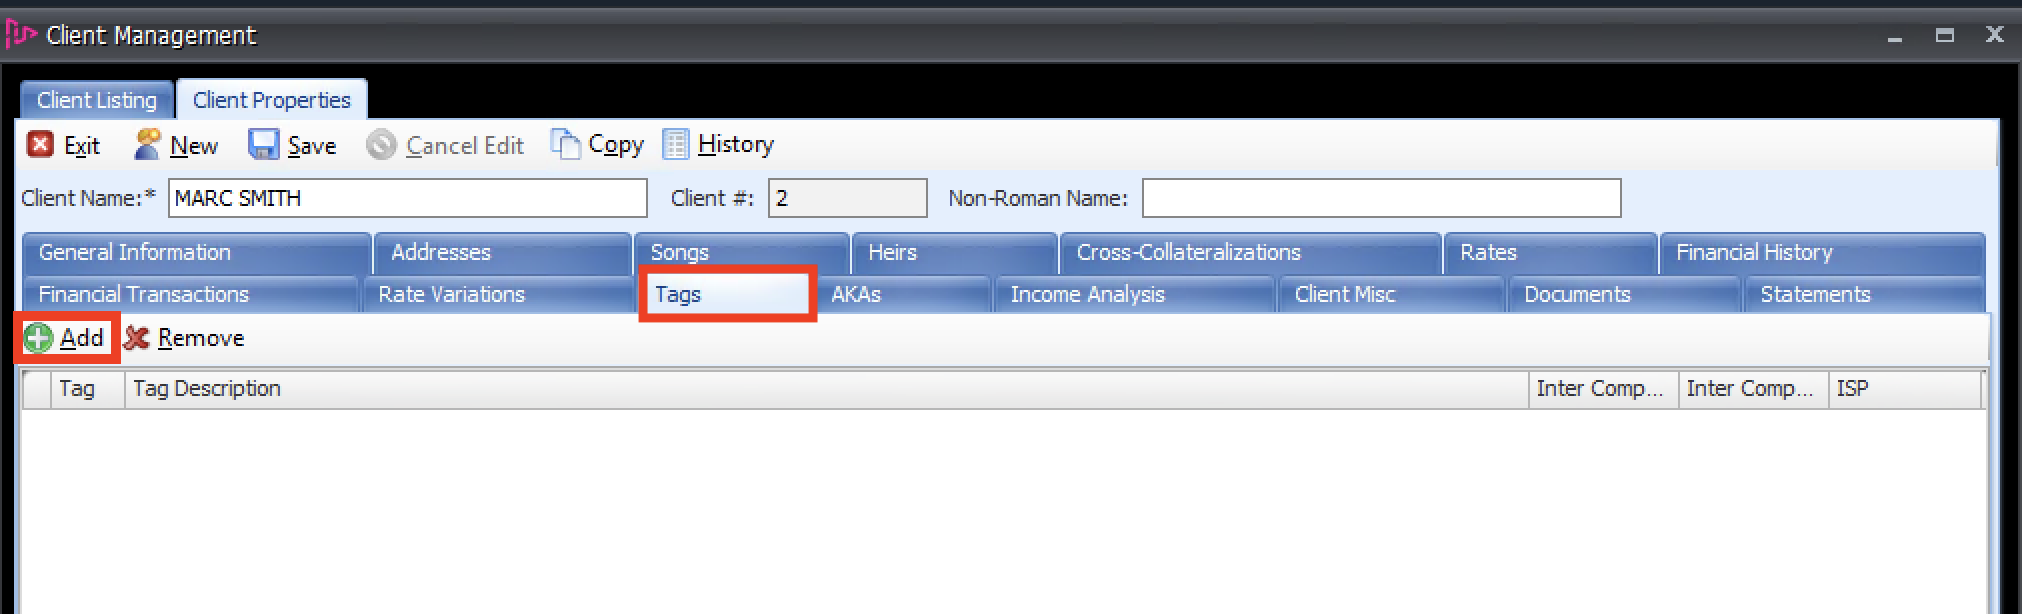
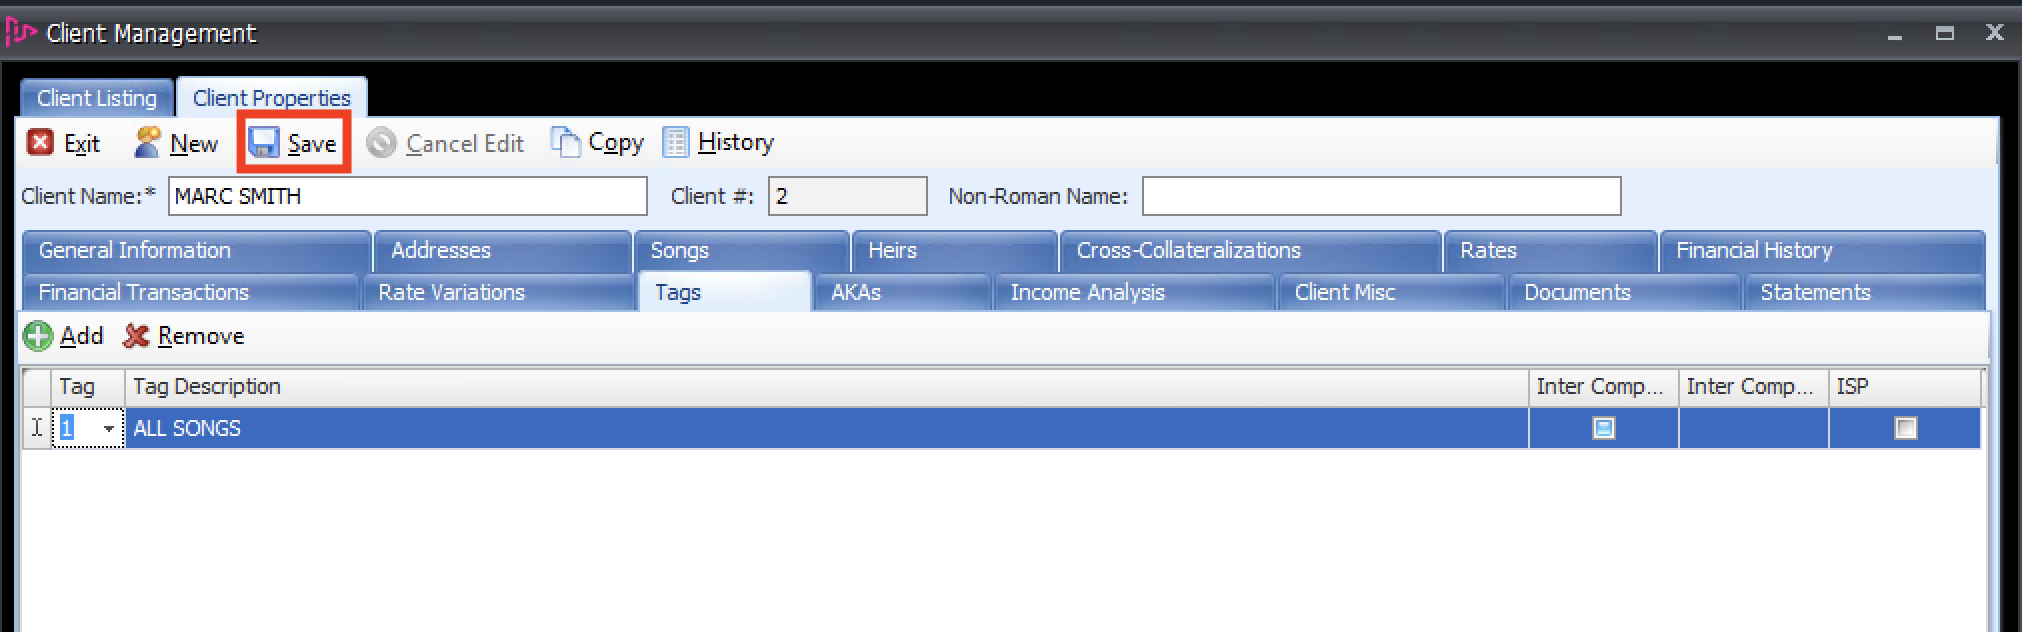
- Click the TAGS tab, click ADD and a new line will be added.
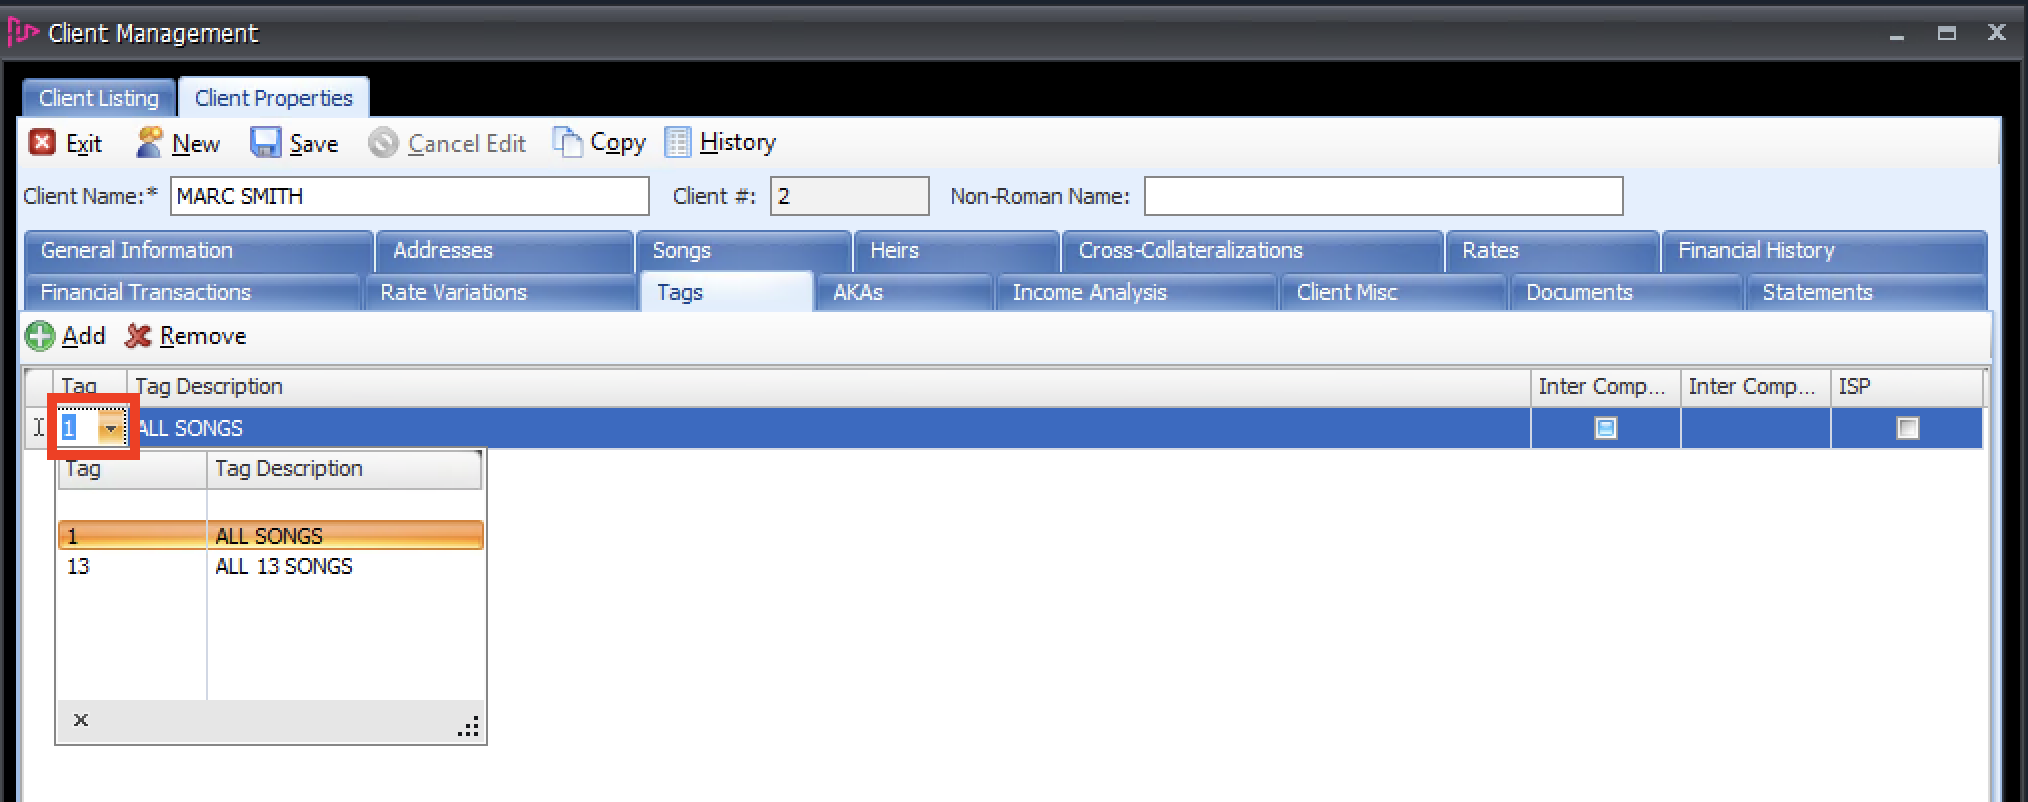
- Click on the arrow in the first cell to open the dropdown and then select the tag you wish to add.
- Click Save.
- That tag will now be visible for use in generating client statements and royalty reports.

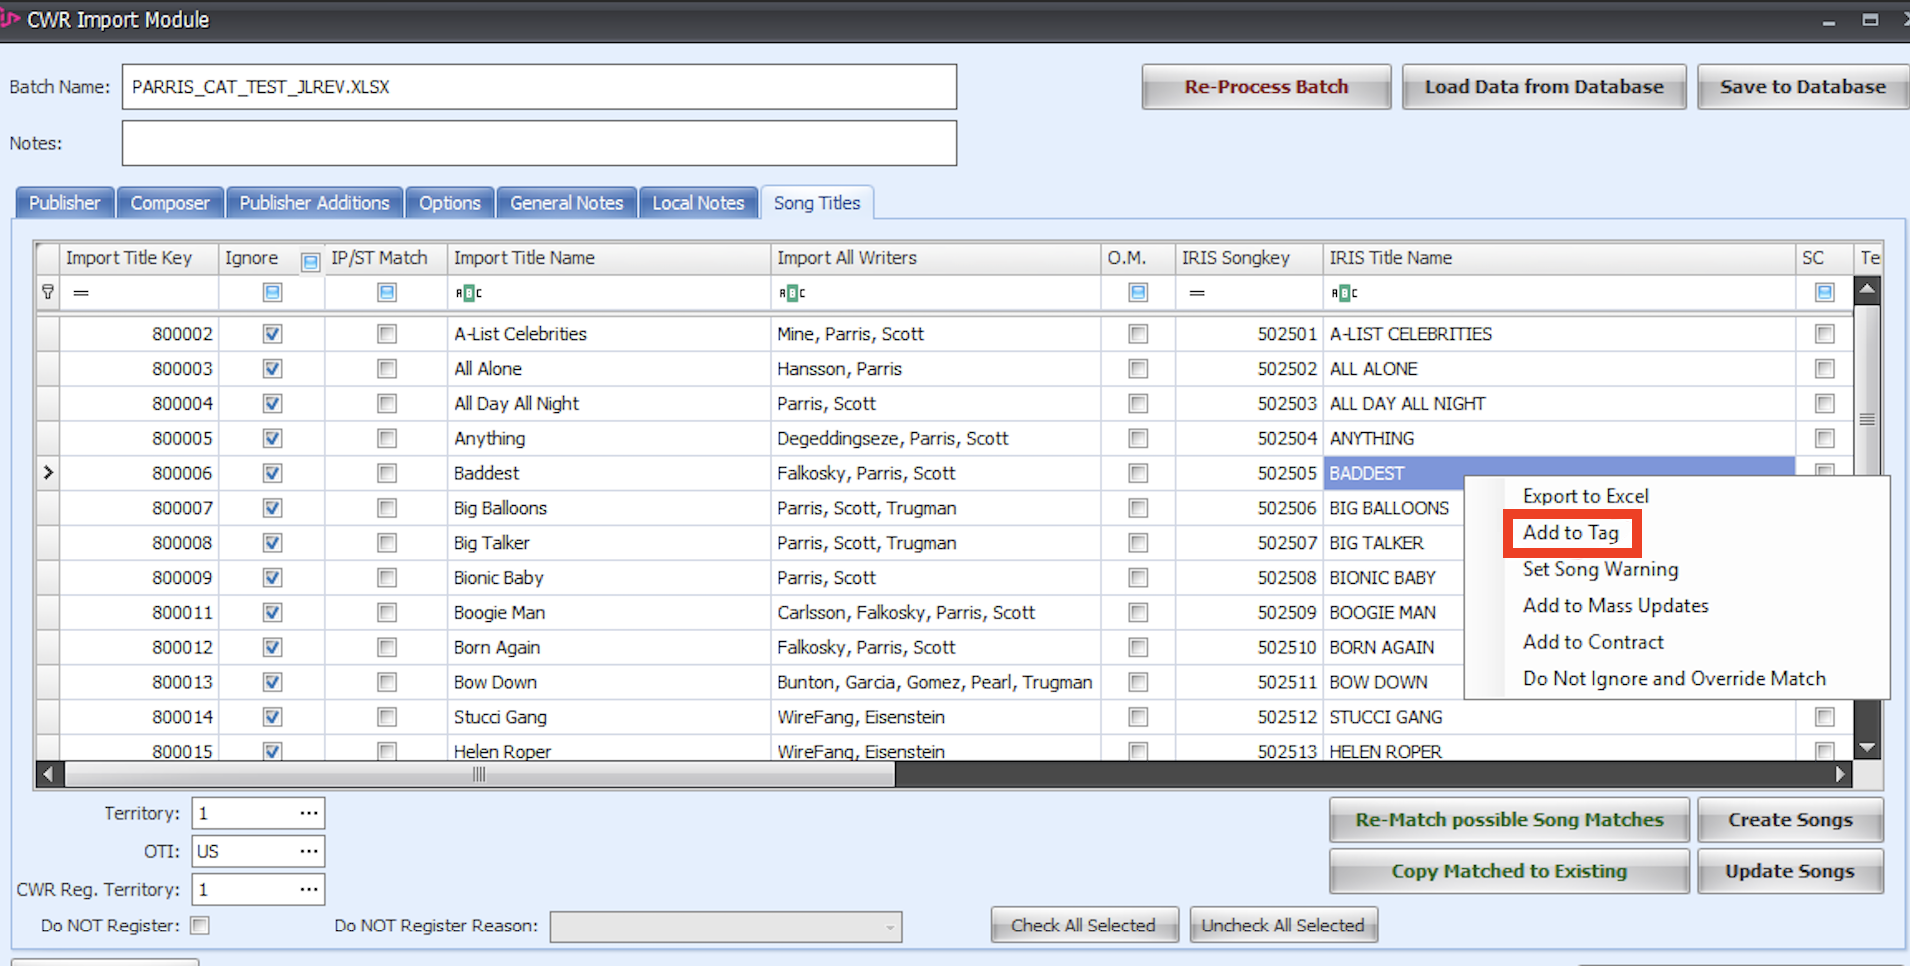
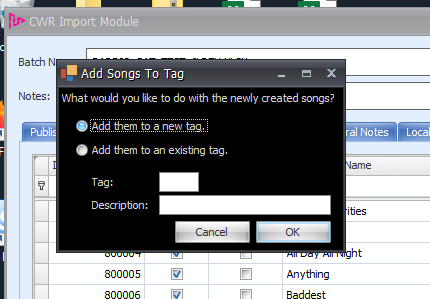
- You can also add tags to a group of songs as you import them using the import tool. Once the songs have been created, you can right click and add all of the new songs to an existing tag or a new tag (if you are adding them to a new Tag make sure to enter the Tag code and description) and then click OK.
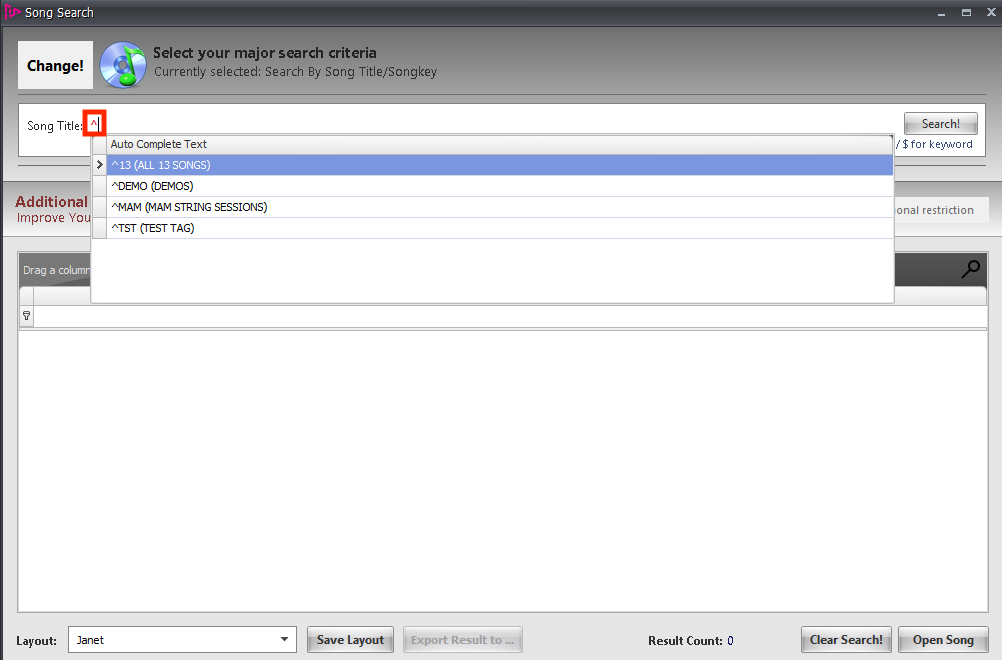
- You can start your search in the song search window using a "^" to search by tags.