Your contacts section in the back-end admin is where you create all the different people or companies you work with, such as artists, songwriters, bands, publishers, record labels, etc.
Note: You must have the proper permissions to proceed. These are established on a user-by-user basis. Please consult your system administrator if you have questions about your user permissions.
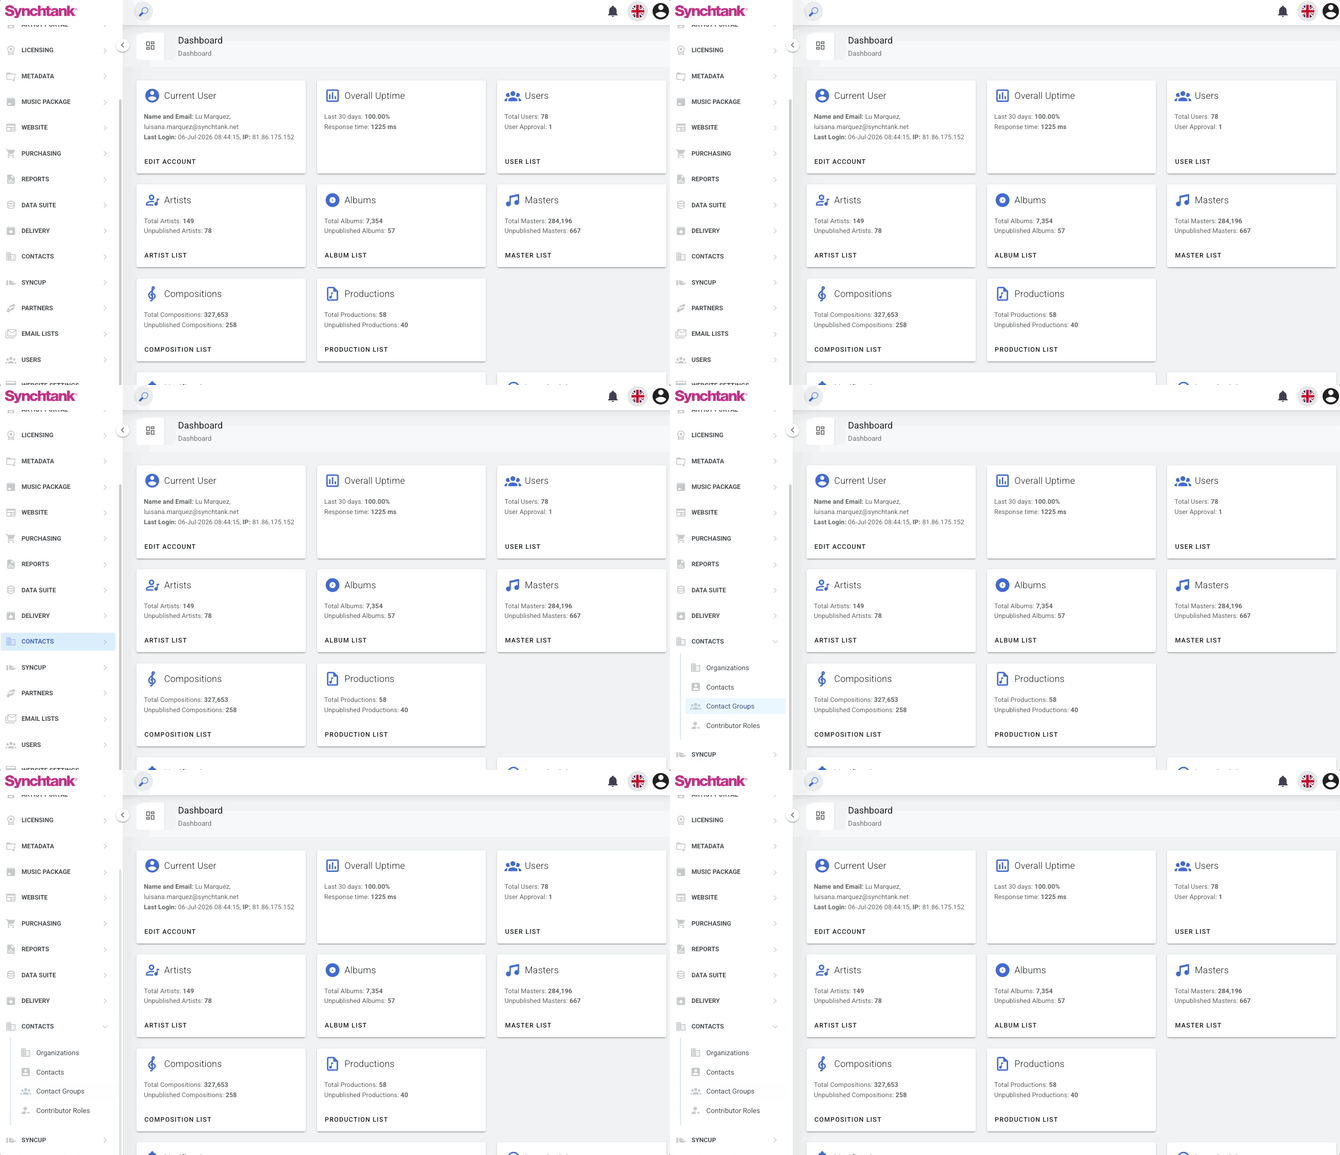
Within the admin dashboard, select the Contacts tab from the left-hand navigation.
- Contacts and Organizations Upload
- Upload a Spreadsheet
- Contact Groups
- Contributor Roles
- Additional Information
Contacts and Organization Upload
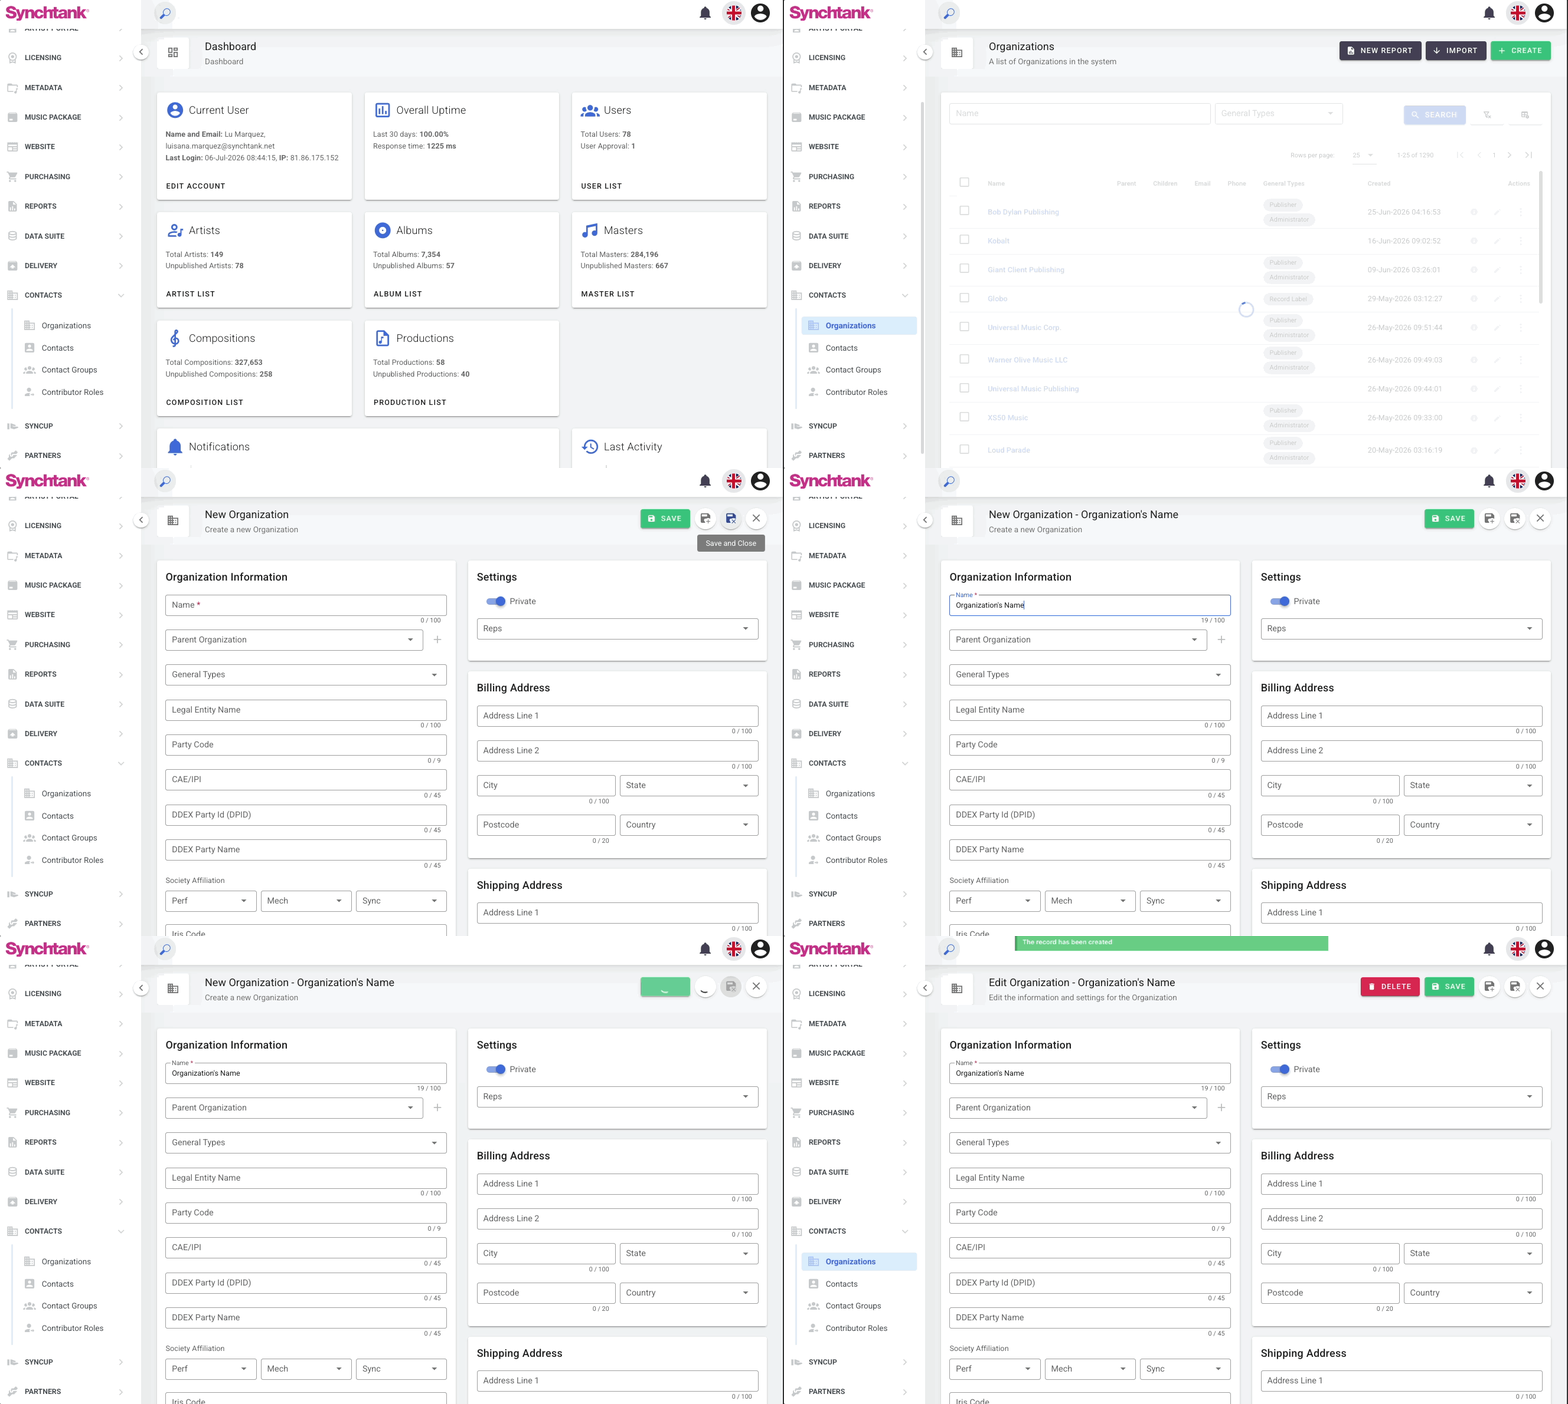
An organization could be a publisher, label, production company, etc.
Add one organization at a time
- Click on the Organizations tab and select the Create button in the top right.
- Fill out the data fields provided — the Name field is required.
- When finished, click the Save button.
- The Contact page will then load, displaying the contact you have just created.
Add one contact at a time
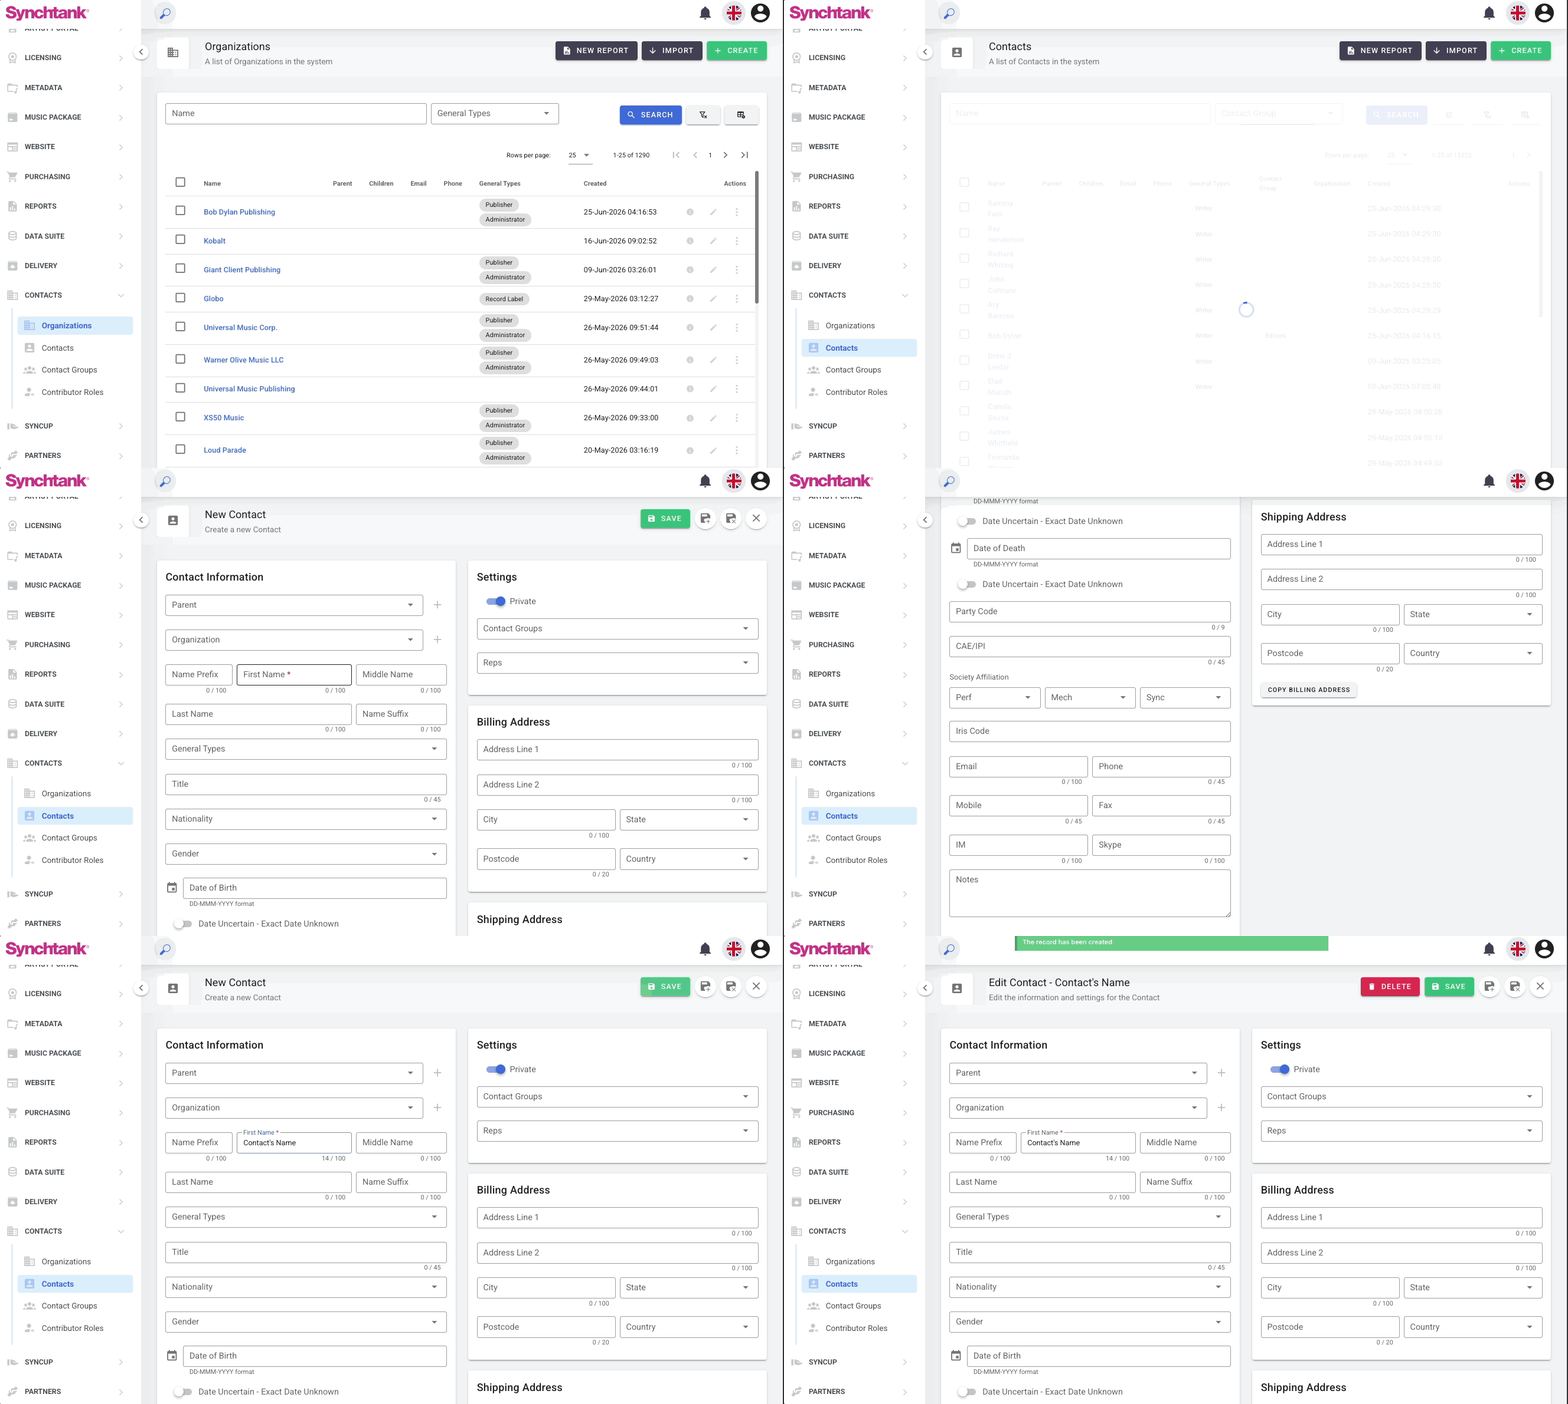
- Click on the Contacts tab and select the green Add Contact button.
- Fill out the data fields provided. The First Name field is required. You can select previously created Organizations in the appropriate field.
- When finished, click the green Save button.
- The Contact page will then load, displaying the contact you have just created.
Identifying contacts with the same name
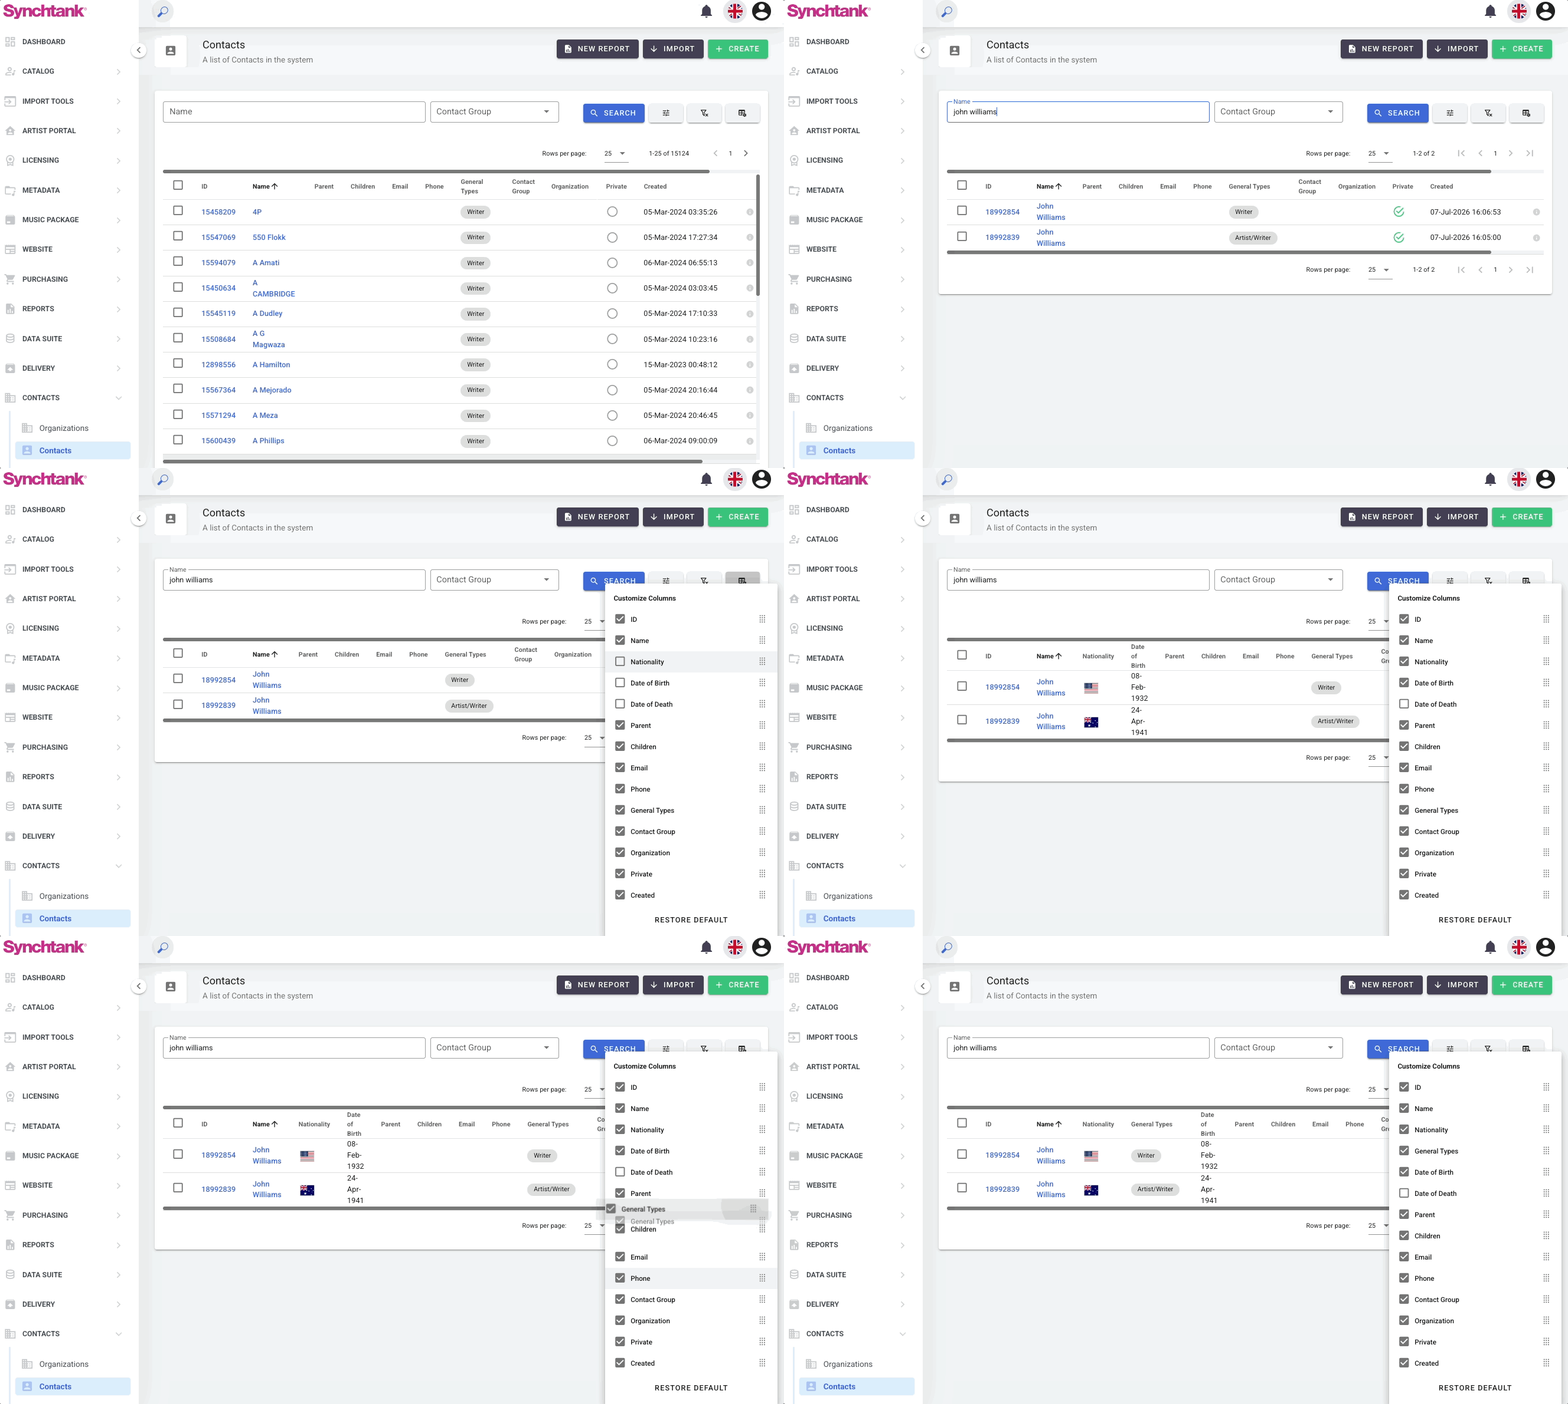
When multiple contacts share the same name (for example, two people named John Williams), Synchtank displays additional identifying information to help you select the correct person. This helps prevent metadata errors caused by selecting the wrong person.
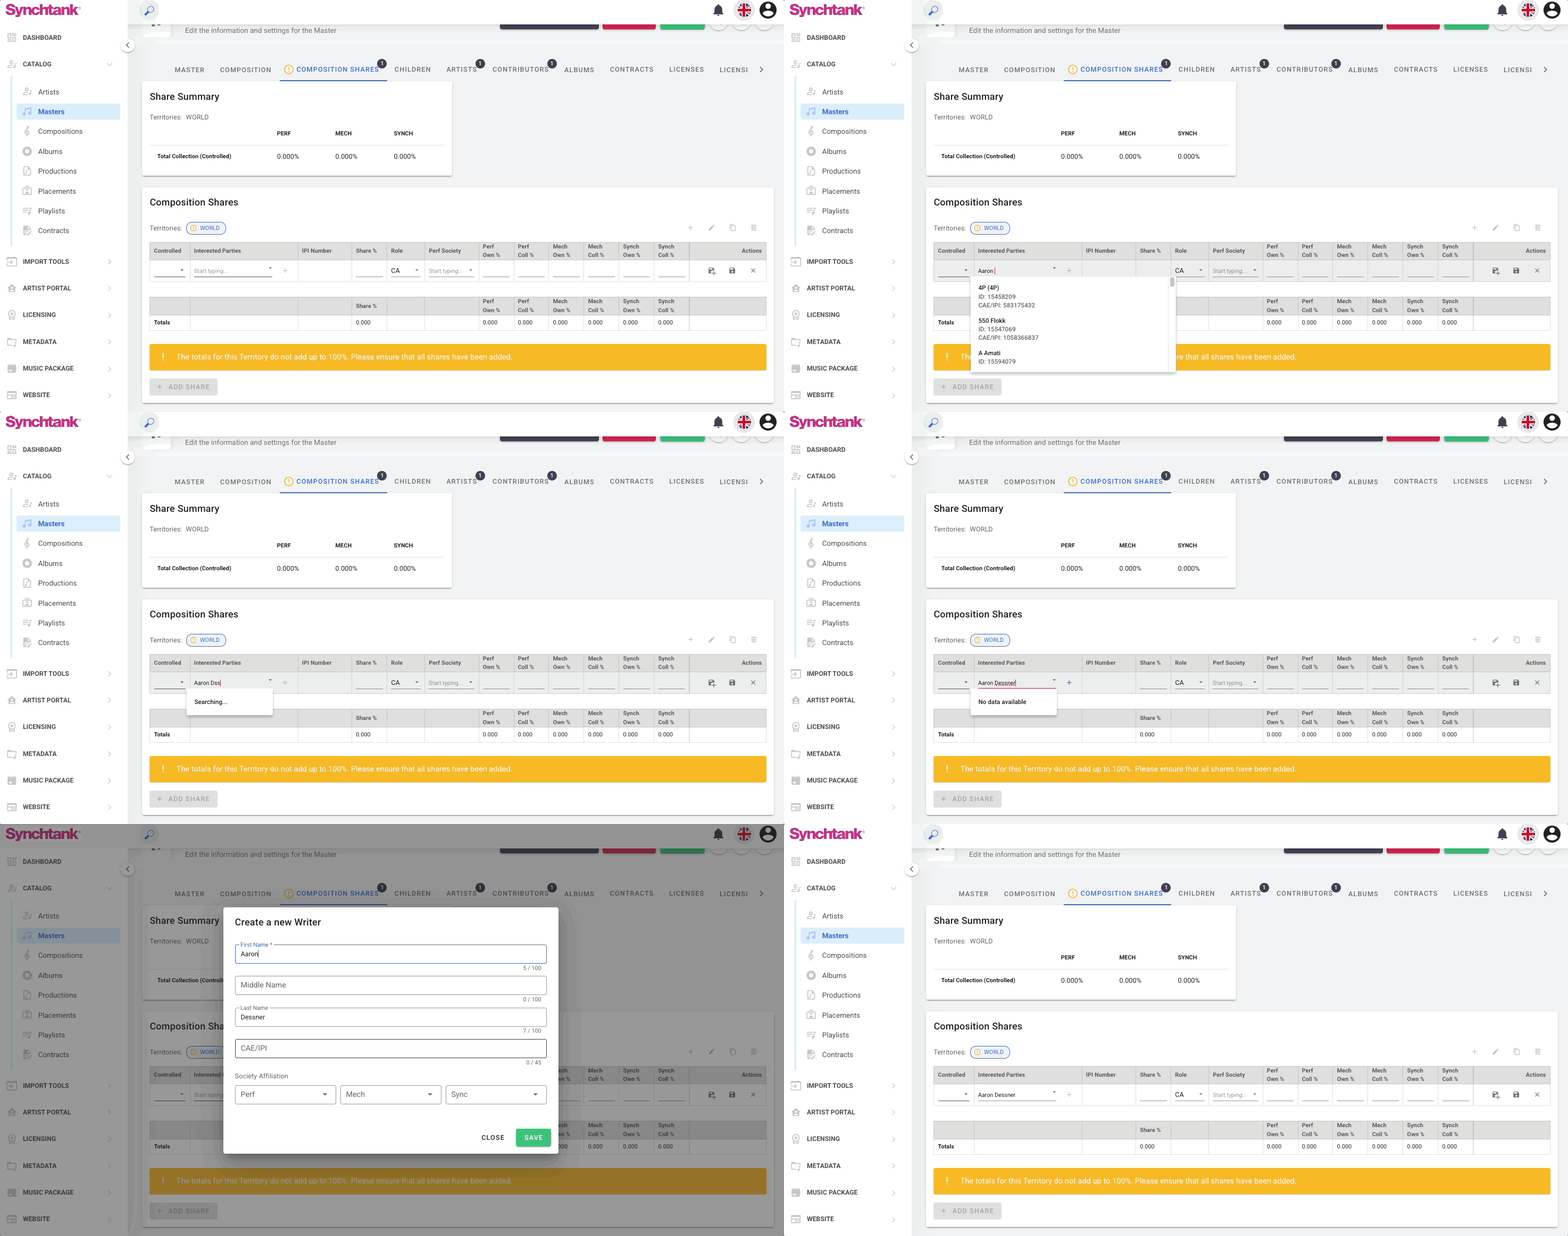
This information is displayed both on the Contacts list page and when adding contributors to a recording or composition — for example, when assigning writers or publishers to a composition share.
Enabling identifying columns
By default, the identifying fields are hidden from the Contacts list. You can enable them using the Customize Columns button:
- Go to Admin → Contacts
- Click the table icon in the top right corner of the list (next to the filter icons)
- A Customize Columns panel will appear with a list of available columns
- Check any of the following to enable them:
- Nationality
- Date of Birth
- Date of Death
- Use the drag handles on the right to reorder the columns
- To reset to the default view, click Restore Default at the bottom of the panel
Tip: These column preferences are per user — each team member can set their own view without affecting others.
Upload a Spreadsheet
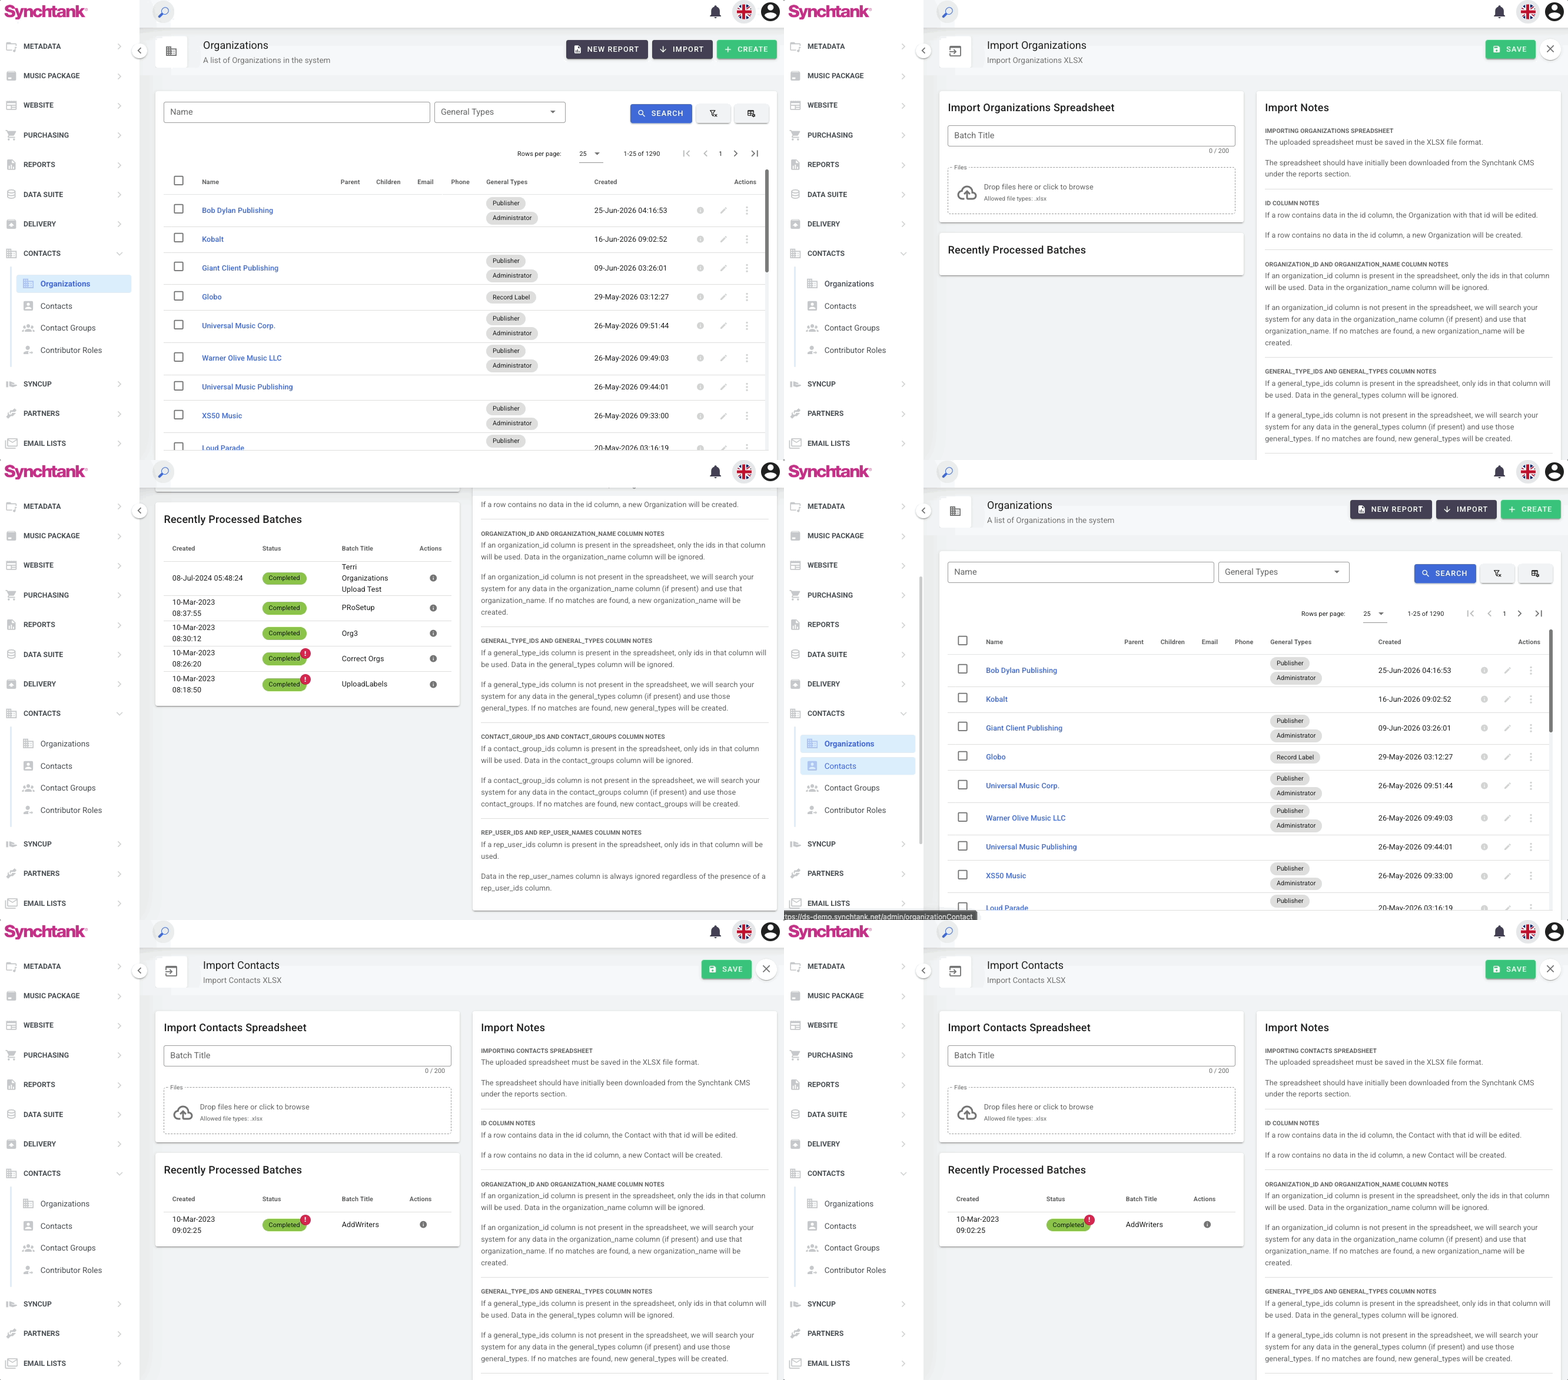
- Within the Contacts/Organizations tab, select the Import button in the top right.
- Select the spreadsheet you wish to upload and drop it where the file cloud icon is.
- Once the spreadsheet is uploaded, match fields from the uploaded spreadsheet to the available Synchtank fields. You can preview the matches in the right column.
- When you're finished matching contact fields, click the Save button and Synchtank will import your contacts.
Import notes
File format
- The uploaded spreadsheet must be saved in XLSX format.
- The spreadsheet should have initially been downloaded from the Synchtank CMS - see the Reports article for instructions on how to generate and download your contacts report.
ID column
- If a row contains data in the id column, the contact with that ID will be edited.
- If a row contains no data in the id column, a new contact will be created.
Organization
- If an organization_id column is present, only the IDs in that column will be used. Data in the organization_name column will be ignored.
- If no organization_id column is present, the system will search for matches using organization_name. If no match is found, a new organization will be created.
General Types
- If a general_type_ids column is present, only the IDs in that column will be used.
- If no general_type_ids column is present, the system will search for matches using general_types. If no match is found, new general types will be created.
Contact Groups
- If a contact_group_ids column is present, only the IDs in that column will be used.
- If no contact_group_ids column is present, the system will search for matches using contact_groups. If no match is found, new contact groups will be created.
Rep Users
- If a rep_user_ids column is present, only the IDs in that column will be used.
- Data in the rep_user_names column is always ignored, regardless of whether rep_user_ids is present.
Contact Groups
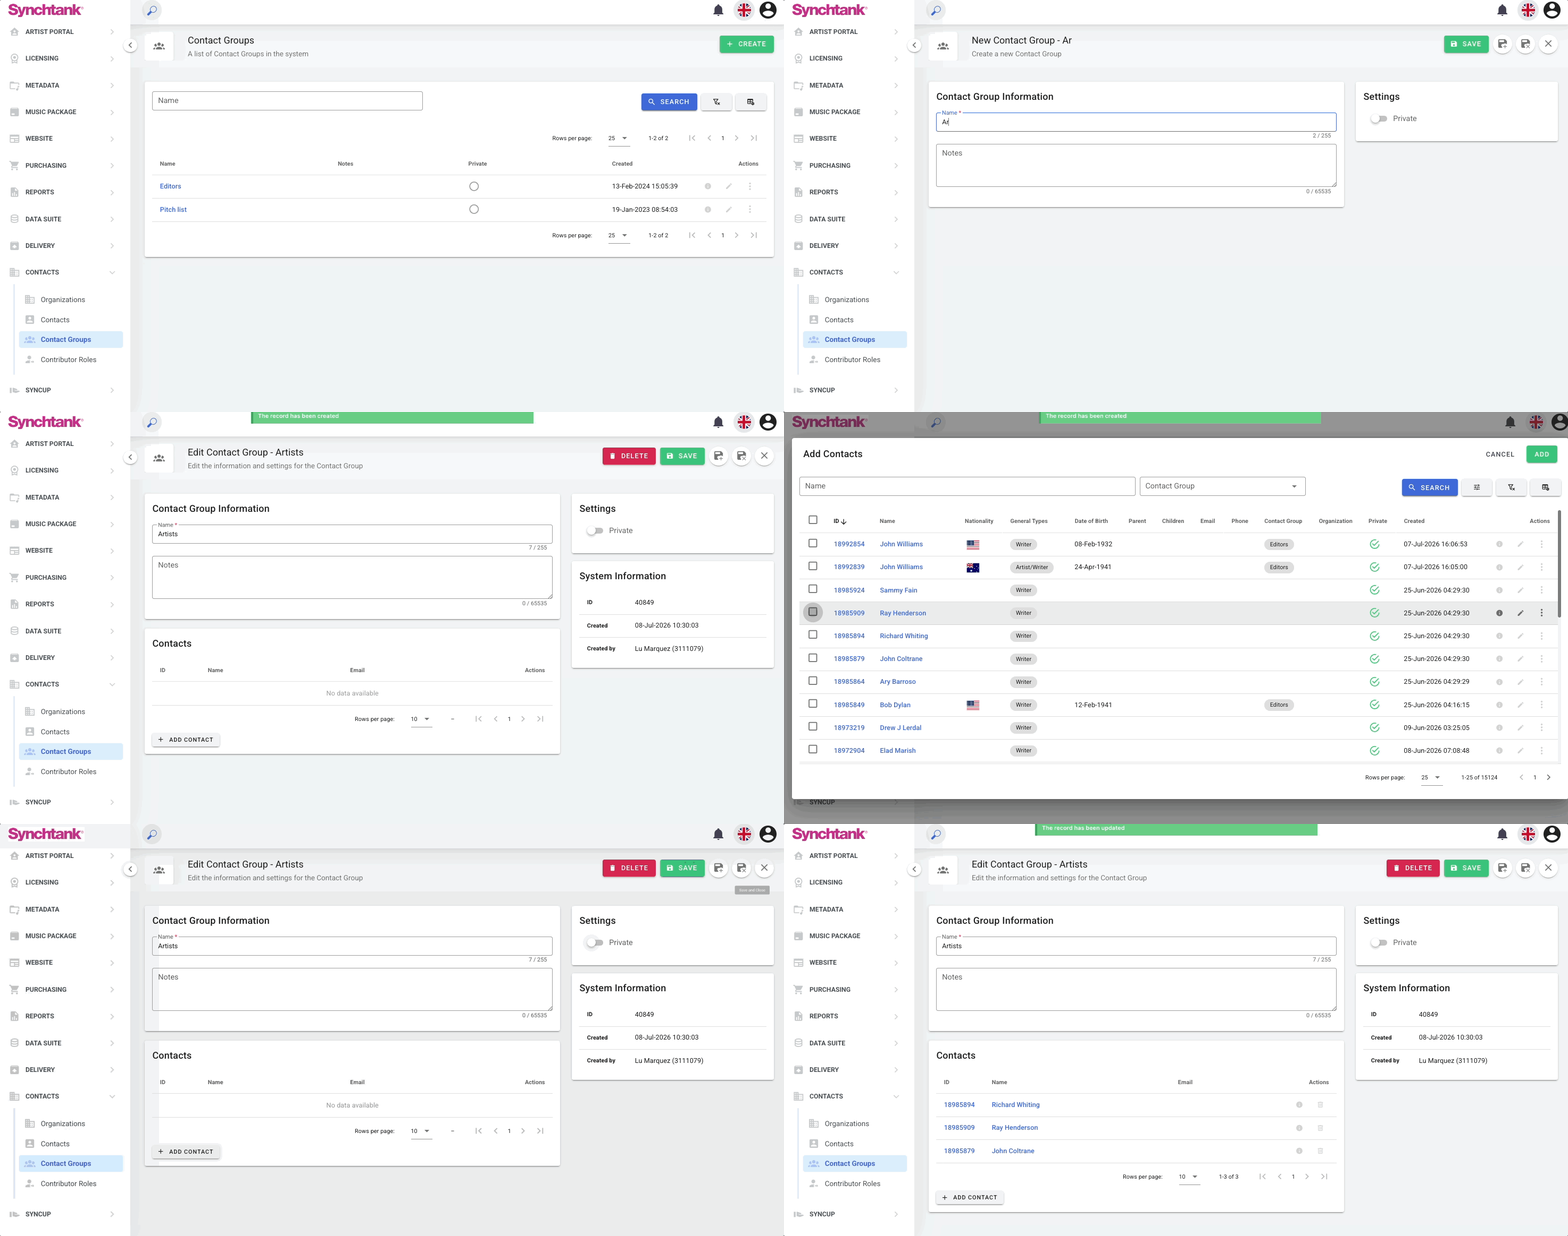
Within the Contact Groups section, you can create a group with a name and optional notes (useful as a description).
Creating a group and adding contacts
- Select the green Create button in the top right.
- Enter a name for the group — this is required. Add notes if needed.
- Click Save — the group record will reload, showing a new Contacts section below.
- Click + Add Contact to add contacts to the group.
- Click Save again to confirm your changes.
Contributor Roles
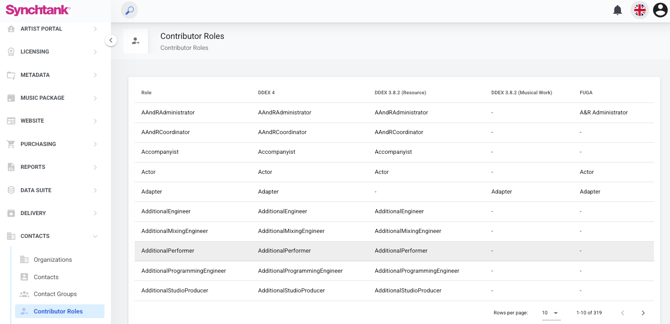
Within the Contributor Roles section, you will see a list of all the roles you have and how they map across to your deliveries (e.g., DDEX and Fuga). More about the Delivery Module.
Additional Information
Creating a Writer
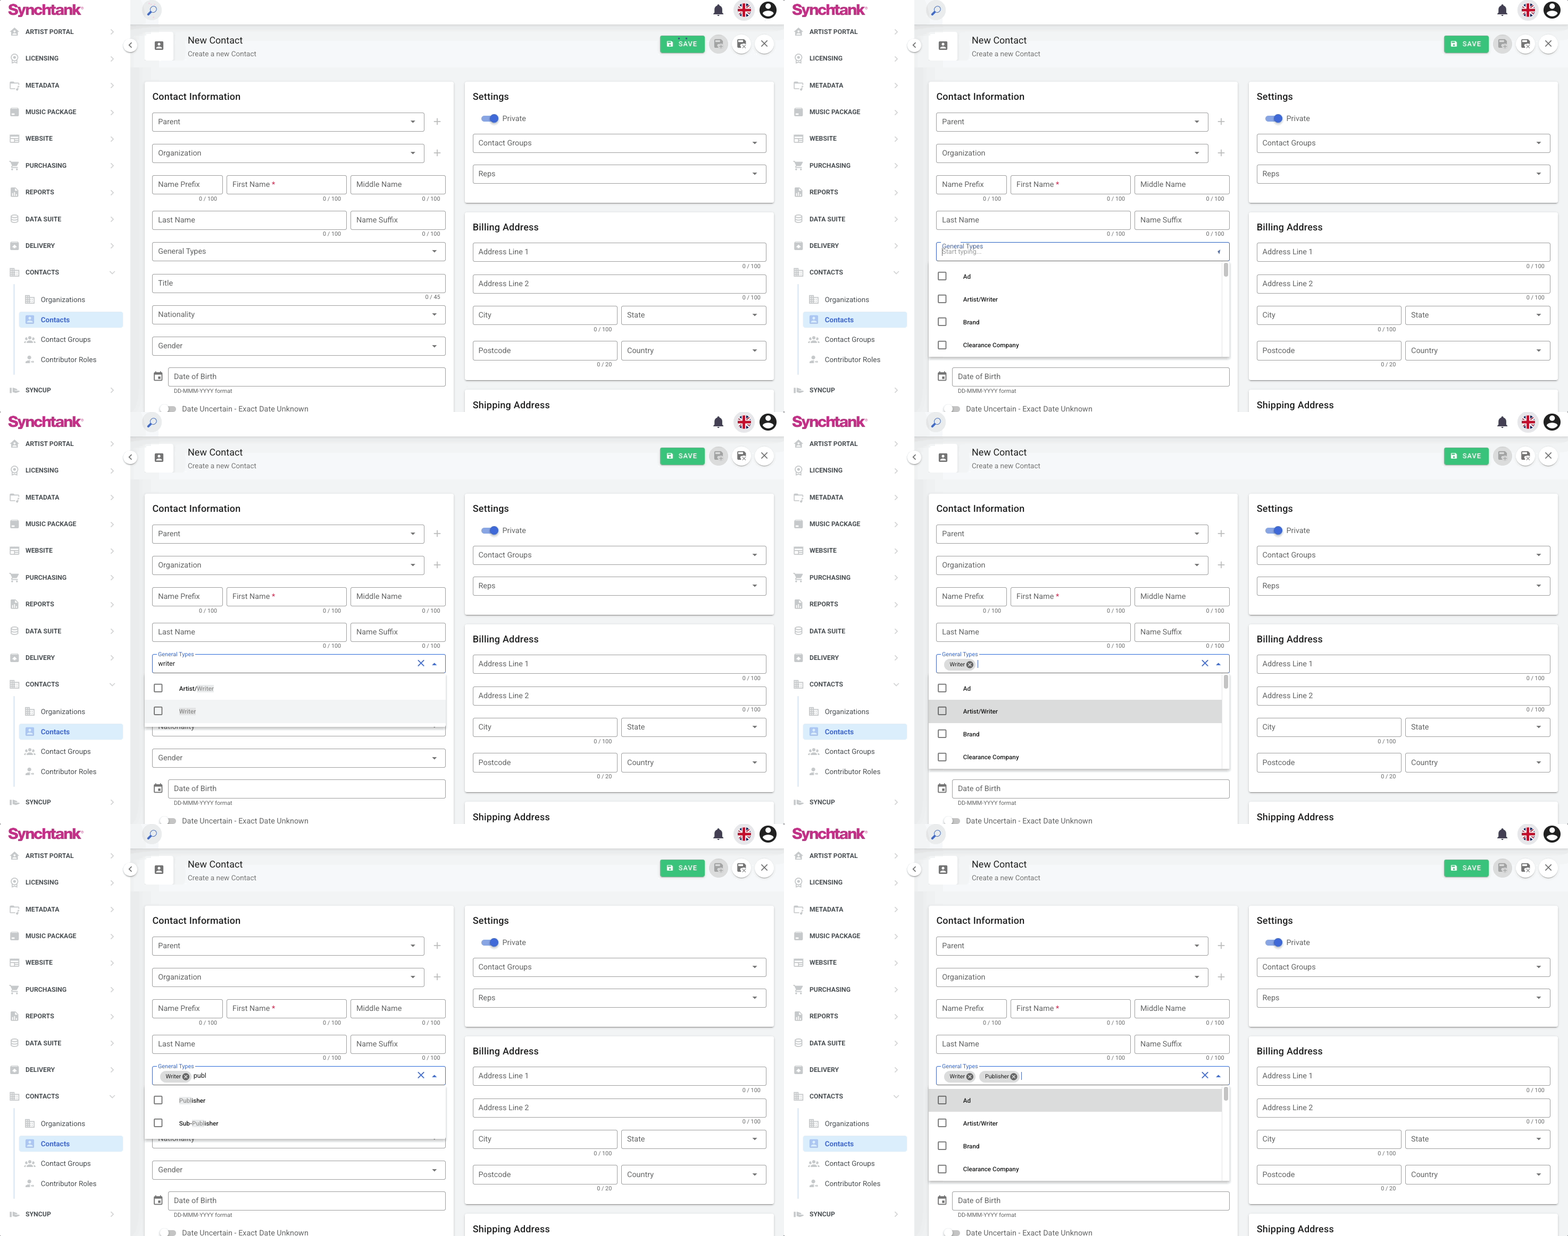
Writers are added on the Contact page under the Contacts tab.
- Click Create in the top right.
- Fill in the required fields:
- First Name and Last Name (required) — used to assign the writer to tracks in bulk via the All Tracks report.
- General Type — set this to Writer.
- Optionally add the CAE/IPI number.
- Click Save.
Creating a Publisher
Publishers are added on the Organization page under the Contacts tab.
- Click Create in the top right.
- Fill in the required fields:
- Name (required) — used to assign the publisher to tracks in bulk via the All Tracks report.
- General Type — set this to Publisher.
- Optionally add the CAE/IPI number.
- Click Save.
Tip: When assigning writers or publishers to masters/tracks, you can search from previously created contacts or create a new one on the spot.